What Was Happening
The customer had decided to upgrade the brain of their custom build — new motherboard, new CPU — while keeping the rest of the system (case, PSU, GPU, drives, RAM if compatible). They had researched the parts themselves and ordered them directly. They wanted us to handle the build and the OS install rather than tackle it themselves.
Customer-supplied parts are common for custom-build work and we’re happy to take them on, with a clear protocol that protects both sides:
- We verify compatibility before starting. No point fitting parts that don’t fit or won’t work.
- The customer keeps the part warranty. If a part fails, they raise it with the supplier they bought from. Our labour warranty covers our installation work; it doesn’t extend to the parts themselves.
- Scope of work is agreed up front. “Fit the new motherboard and CPU, reinstall Windows, install drivers” is a clear scope. “Make the whole system better” is not.
Our Diagnosis
Step 1 — compatibility verification. Before opening anything:
- CPU socket matched the new motherboard? Yes.
- CPU generation supported by the new motherboard out of the box? Checked the motherboard’s manual for the supported CPU list at the shipped BIOS version. Some boards need a BIOS update before they’ll POST with a specific CPU — and that BIOS update can require an older CPU to perform. This is a common gotcha. In this case the board’s shipped BIOS supported the new CPU directly — no chicken-and-egg issue.
- Existing RAM compatible with the new motherboard? Checked DDR generation (DDR4 vs DDR5 boards are not interchangeable), then checked the QVL (Qualified Vendor List) for the specific RAM the customer was reusing. Compatible.
- Power connectors on the PSU match the new motherboard? 24-pin main, 8-pin CPU (sometimes 8+4 or 8+8 on higher-end boards). PSU connectors matched.
- Motherboard form factor fits the case? ATX, mATX, or ITX. Confirmed match.
- CPU cooler compatible with the new socket? This is the one that catches people out. Coolers usually come with mounting brackets for several sockets, but not always. Checked — customer’s existing cooler had the right bracket for the new socket.
All verified before starting work.
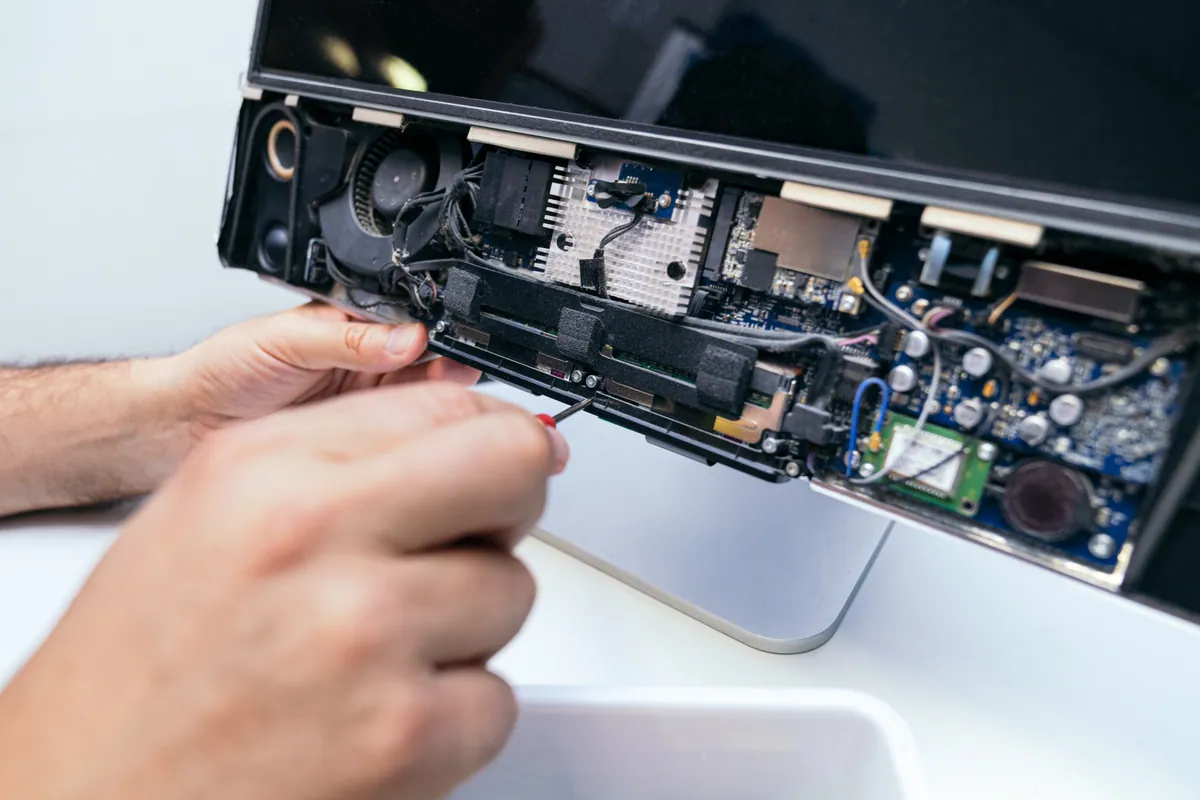
Step 2 — disassembly. Powered off, mains disconnected. Removed:
- GPU
- Existing RAM
- Existing CPU cooler
- Existing CPU from the existing motherboard
- Existing motherboard from the case (kept all motherboard standoffs and screws for the new board)
Step 3 — build with the new parts:
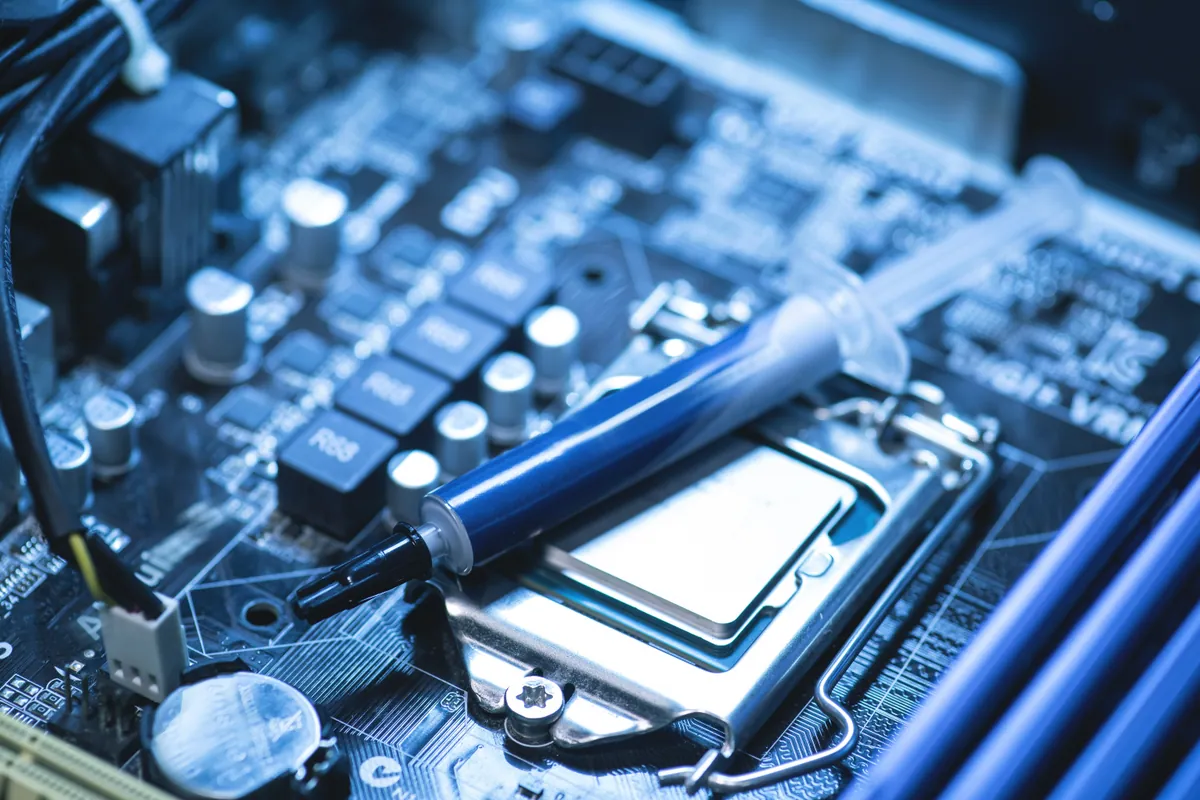
- Installed the new CPU into the new motherboard out of the case (easier than working in the case) — careful alignment of the CPU’s notch with the socket’s index marker
- Applied fresh thermal paste to the CPU
- Fitted the CPU cooler with the correct mounting orientation for this socket
- Installed the existing RAM into the new motherboard, in the correct slots for dual-channel operation (slots 2 and 4 on most boards rather than 1 and 2)
- Fitted the new motherboard into the case, secured with standoffs and screws
- Reconnected the case front-panel header (power button, reset, USB, audio) — the most fiddly part of any case work
- Reconnected the PSU cables — 24-pin, 8-pin CPU, SATA power for drives
- Refitted the GPU and connected its power
- Reconnected SATA data cables for storage
- Routed cables for airflow and aesthetics
Step 4 — first POST.
- Powered on. POST successful. BIOS reachable.
- Confirmed BIOS detected the CPU correctly, all RAM, all storage.
- Set RAM to its rated XMP / DOCP profile for full speed (RAM defaults to a conservative JEDEC speed; enabling XMP gives the rated performance).
- Updated BIOS to current version if newer was available.
Step 5 — fresh Windows install.
A motherboard change always means a fresh install. The old install was bound to the previous motherboard’s hardware fingerprint and won’t reliably boot on the new platform — drivers, activation, hardware abstraction layer all break in different ways. The right answer is a clean install with the new platform’s drivers.
- Wiped the existing Windows partition
- Fresh Windows install
- Installed the new motherboard’s chipset driver bundle
- Installed the GPU driver appropriate to the existing card
- Network drivers, audio drivers, any motherboard-specific utilities (LAN management, audio enhancement)
- Windows updates current
Step 6 — verification.
- Three full reboots, all clean
- All hardware components recognised in Device Manager with no yellow warnings
- CPU running at expected base/boost frequencies under load
- RAM running at rated XMP speed
- GPU recognised and benchmarking at expected performance
- Storage drives all enumerated correctly
- Network, audio, USB all functional
The Result
System booting cleanly with the new motherboard and CPU. All existing components carried over and working. Customer collected the build with notes on:
- BIOS version installed
- XMP profile applied to RAM
- Driver versions for chipset, GPU, audio, network
- Warranty scope — our labour warranty covers the build; the part warranties stay with the customer’s original purchases from the part vendor
Why This Happens
Customer-supplied parts are fine for workshop builds and upgrades, but the conversation needs to be clear:
What we cover with our labour warranty:
- The build is assembled correctly
- The OS installation is clean and current
- The driver stack is appropriate to the hardware
- Cable routing and component fitting is sound
What stays with the customer’s supplier:
- DOA (dead on arrival) parts
- Parts that fail within their original manufacturer warranty
- Performance below the part’s advertised spec
This isn’t a workshop-specific quirk — it’s how the part warranty model works generally. The supplier you bought the part from is who you raise warranty claims with. Workshops who fit your parts can’t take over that relationship on your behalf.
Why This Happens
Windows binds to the motherboard in several ways:
- Hardware abstraction layer (HAL) — Windows installs a HAL appropriate to the platform. A different motherboard often needs a different HAL.
- Chipset drivers — Storage controllers, USB controllers, power management. Different chipset, different drivers; the wrong ones at boot can cause BSODs.
- Activation — Windows activation is partially tied to motherboard. A motherboard change can de-activate the install (sometimes recoverable by linking the licence to a Microsoft account before the swap; sometimes not).
- BIOS-OS coordination — UEFI variables, secure boot state, TPM bindings all interact with the OS.
Sometimes a sysprep or repair install can carry the old install onto the new motherboard. More often the result is unstable. A fresh install is more reliable and only adds an hour or two of work on top of the upgrade.
Local Help in Barnes SW13
Tower and all-in-one PCs benefit from component-level diagnosis rather than guessed-at part swaps.
We work on every major brand plus custom-built machines — and we’re happy to handle customer-supplied parts on a clear protocol.
Book a workshop visit on 020 7610 0500 or contact us first.