What Was Happening
The All-in-One had been showing the “automatic repair” screen for several boots before stopping at it altogether. The customer hadn’t backed up in a while and was understandably anxious about the documents and pictures stored on the desktop and in the Documents folder.
This is the most common pattern we see at the workshop: someone whose backup intentions are good but whose backup execution has been irregular, dealing with a broken Windows install that contains the only copy of important files.
Sound like your problem?
Bring it to our Putney workshop or message us a photo and we will give you a straight answer and a quote before any work starts.
Our Diagnosis
The first rule of broken-Windows-with-important-data jobs: do not run anything that writes to the drive until the data is safe. Repair attempts, reinstallation, even some diagnostic tools can write to the drive — and any write can land on top of a file you wanted.
The right order:
- Power the machine down properly (or pull the drive if Windows won’t even reach a state where shutdown works).
- Connect the drive read-only to a different machine via an interface configured to prevent writes or via boot-time tooling that mounts the drive without writes.
- Image the drive to a separate storage location. Bit-for-bit copy, not just a file copy — the file system can recover even if individual files are not visible during a simple copy.
- Verify the image is readable and contains the expected user data.
- Only then start destructive work — drive wipe, fresh install, etc.
For this HP All-in-One the access pattern needed a bit more work than a tower because of the chassis design, but the principle is identical.
How we did the recovery and reinstall
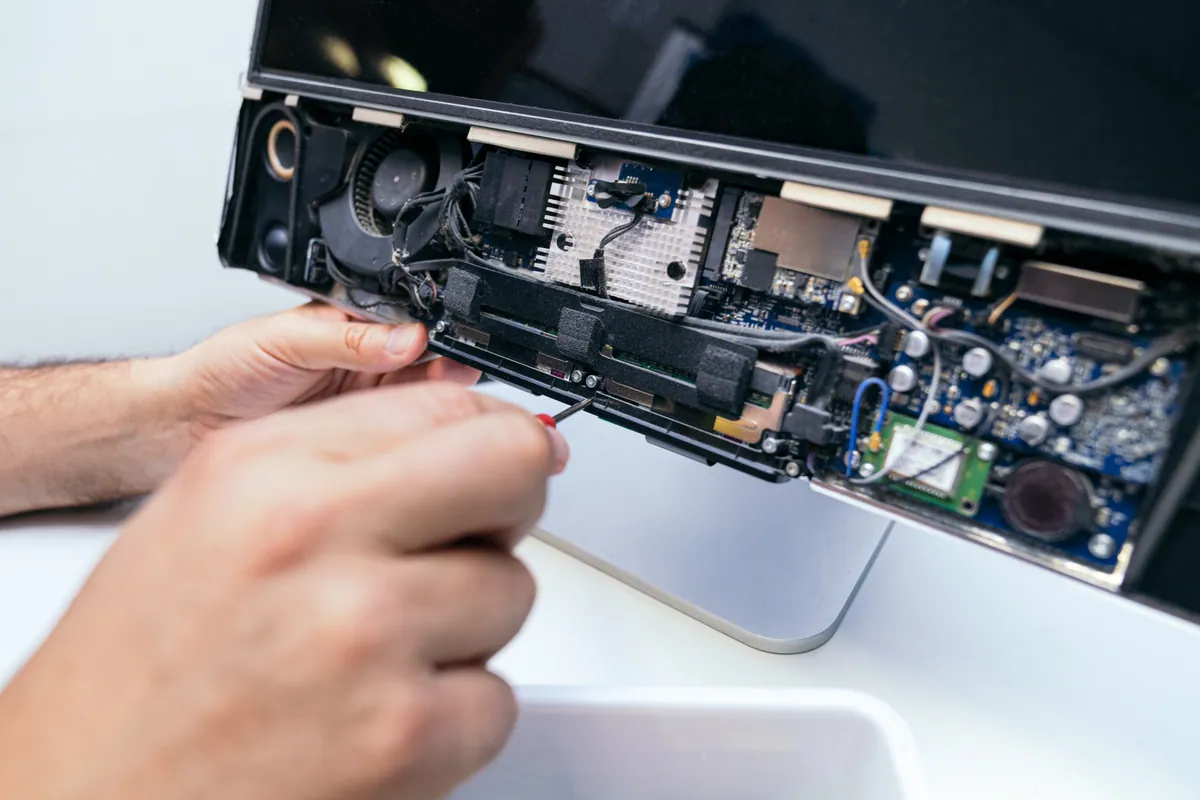
Step 1 — drive access. Opened the All-in-One enough to access the internal drive. HP All-in-One designs vary — some have a service panel, some require full chassis removal. We work to the manufacturer’s service guide to avoid damage to the display assembly above the bench.
Step 2 — image to safe storage. Imaged the drive to a dedicated dedicated recovery storage volume. This gave us a complete, untouched copy of the customer’s files and Windows install that would survive whatever happened next.
Step 3 — browse the image. Mounted the image read-only on a separate machine. Verified Documents, Desktop, Pictures, Downloads were all intact. Confirmed key files opened in their expected applications.
Step 4 — drive back into the All-in-One, this time for a clean install. Wiped the drive completely (any leftover partitions from the previous install removed), ran Windows setup through to first boot.
Step 5 — HP driver bundle applied. HP publishes a per-model driver pack specifically for All-in-One models. Using it gets the integrated camera, touch panel (where applicable), audio, network and display drivers in one coherent install rather than relying on Windows’ generic drivers.
Step 6 — Windows updates run to current state on the bench.
Step 7 — restore user data from the image. Documents, Desktop, Pictures, Downloads back into the new user profile. Browser bookmarks where credentials allowed.
Step 8 — verification. Boot three times, time each. Application launches normal. Network and printer connectivity tested. SMART read on the drive to confirm clean baseline going forward.
The Result
Machine booting cleanly. All user files restored from the safe image. The All-in-One is now in a known-good state with a current driver baseline.
We also took the customer through a 10-minute backup setup before they took the machine home. Future versions of this problem can be the cost of a USB stick and an evening’s reinstallation, not panic about losing files.
Why This Happens
Data recovery is the more expensive answer to a problem that backup would have prevented. The difference:
- Recovery is variable. Sometimes everything comes back; sometimes the drive is so far gone that specialist cleanroom work is needed; sometimes the data is genuinely unrecoverable.
- Backup is binary. Either you have one, in which case the failure is annoying but not damaging; or you don’t, in which case every failure is an emergency.
The good news: setting up an automatic backup that actually works is genuinely a 10-minute job. The bad news: most home users don’t do it until after their first data loss.
How to set up a backup that actually works
Option 1 — cloud-only. Sign in to OneDrive (Windows) or iCloud Drive (Mac) and let the Documents, Desktop and Pictures folders sync to the cloud automatically. Free for small amounts, low monthly cost for serious volumes. Works automatically, recovers from any device.
Option 2 — local-only. Plug in an external drive once a week or so and run File History (Windows) or Time Machine (Mac) backups. Fast, free, all in your control. Vulnerable to the same physical risks as the original drive (fire, theft, power surge).
Option 3 — both. The “3-2-1 rule” — three copies of important data, two different media, one off-site. The most robust setup, and the simplest version is cloud + local + occasional manual copy.
The right answer for most home users is cloud sync for active data (Documents, Pictures, Desktop) plus an occasional local backup of the whole machine for everything else.
Local Help in Putney SW15
Desktops are quicker to diagnose than laptops because each component can be tested and swapped in isolation.
We handle towers, all-in-ones, custom builds and gaming rigs at our Putney workshop.
Drop in to SW15, call 020 7610 0500, or contact us.