What Was Happening
The laptop had been dropped. The damage was clearly visible — a crack across the palmrest near the touchpad, the lid bent enough to flex the hinges noticeably, and the screen broken with a visible impact point. The laptop still powered on, the keyboard still worked, and the customer could see the boot sequence on the broken screen, but it wasn’t usable in its current state.
The customer’s first question was the right one: is this worth fixing, or do I need a new laptop? The answer depends on what’s actually broken — which is what the diagnostic establishes.
Sound like your problem?
Bring it to our Putney workshop or message us a photo and we will give you a straight answer and a quote before any work starts.
Our Diagnosis
For physical damage, the priority is to separate chassis damage (cosmetic / structural, fixable with replacement parts) from internal damage (logic board, drive, RAM — much more expensive to address).
- Power test. Laptop powered on, POST completed, reached the OS login screen on the broken display. Confirmed the logic board, RAM and drive were all functional through a normal boot.
- External-monitor test. Connected an external monitor via HDMI. Full-resolution Windows desktop displayed cleanly. Confirmed the GPU and the display cable inside the hinge were both healthy.
- Keyboard test. Every key responded. The cracked palmrest hadn’t affected the keyboard’s flex cable or its connector.
- Touchpad test. Functioning, with the cracked surface not affecting the actual touch sensitivity.
- Hinge inspection. Both hinges still operating but with noticeable looseness — the lid was bending at the hinge mount because the lid panel itself had absorbed some of the impact force.
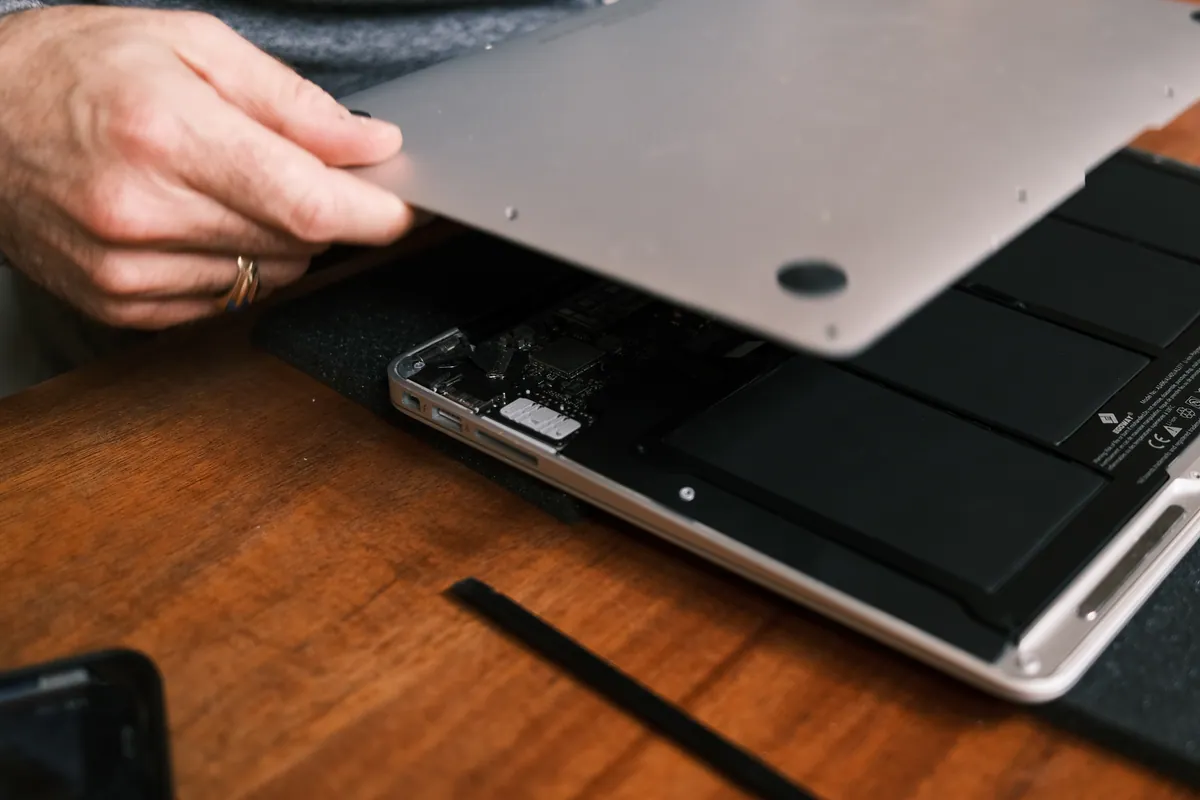
- Internal inspection with the back cover off. No daughterboard damage, no visible connector damage, no signs of internal flex damage from the impact.
Conclusion: damage was entirely chassis-level. Internals all healthy. The laptop was a candidate for a structural rebuild rather than replacement.
How We Fixed It
Sourced the parts. HP service parts are generally available from authorised parts vendors. For this model we needed:
- Replacement palmrest assembly (which includes the keyboard mount and touchpad housing on many HP designs — check whether the keyboard itself is part of the palmrest assembly or a separate item)
- Replacement lid assembly (the outer plastic / aluminium that forms the back of the screen)
- Replacement display panel (correct part for resolution, refresh rate, panel type and connector)
Parts arrived in two to three working days. We always confirm parts availability and lead time before committing the customer to a repair — sometimes a part is end-of-life and a model is genuinely uneconomic to fix, which is information the customer needs upfront.
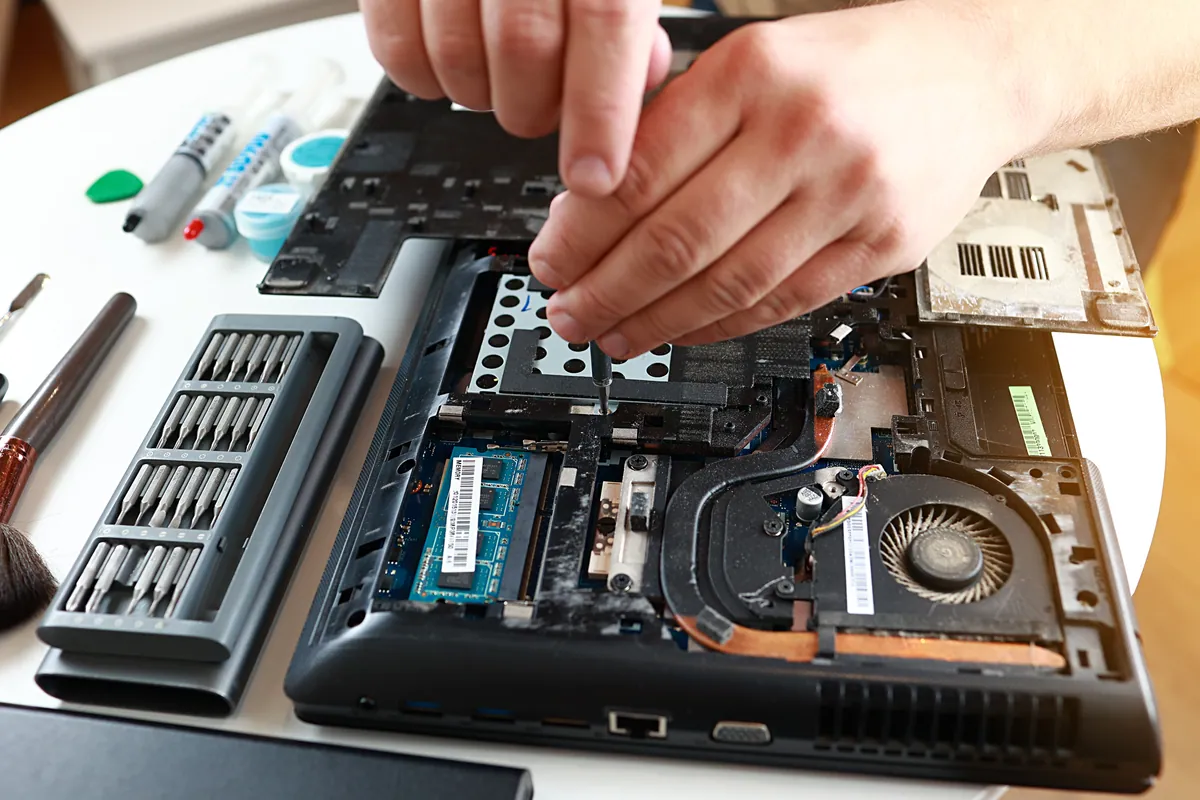
Strip-down. Disassembled the laptop systematically:
- Removed the back cover, battery (always first), and any cabling running between the lid and the base.
- Lifted the keyboard / palmrest assembly. On this HP design the keyboard was integral to the palmrest, so the whole assembly transferred together.
- Separated the lid from the base by disconnecting the hinge bolts and the display / antenna cables.
- Removed the display panel from the old lid assembly.
Rebuild. Worked the process in reverse with the new parts:
- Fitted the new display panel into the new lid assembly.
- Routed the display, webcam and antenna cables back down through the new hinge channel.
- Attached the new lid to the base via the hinges.
- Fitted the new palmrest assembly with its integral keyboard, reconnecting the keyboard and touchpad flex cables.
- Reconnected the battery and refitted the back cover.
Verification. Boot tested with all components in place. Display clean, full brightness, no dead pixels. Keyboard responding on every key. Touchpad gestures normal. Hinges firm with no flex. Wi-Fi performance verified (antennae often run through the lid, so a botched antenna route during reassembly shows up as poor Wi-Fi).
The Result
Laptop returned structurally and visually sound. Screen clean, lid hinges firm, palmrest intact. All internal components retained and functioning. The laptop is back to a state the customer can use for several more years rather than replacing the whole machine.
Why This Happens
People underestimate how much of a laptop’s value is in its internals and overestimate how much is in its chassis. A typical mid-range laptop costing several hundred pounds new might have:
- Logic board, CPU, GPU, RAM, drive — most of the manufacturing cost
- Chassis (palmrest, base, lid) — comparatively cheap to produce, comparatively cheap to source as service parts
- Screen — moderate cost, usually the most expensive single chassis component
When the damage is to the chassis only and the internals are healthy, the repair economics are good. When the damage has reached the logic board (especially through a liquid spill or severe impact), the calculation shifts and replacement sometimes becomes the right answer.
We always diagnose first and tell the customer honestly what the trade-offs are.
How to reduce the risk of impact damage
- Carry the laptop in a sleeve or padded compartment. The single most effective protection.
- Don’t stack things on a laptop in a bag. Books, chargers and other laptops concentrate pressure on the lid.
- Pick up by the base, not the lid. Lifting by the lid stresses the hinges over time.
- Use a desk-side stand or dock at the desk so the laptop isn’t constantly being picked up and put down.
- Consider a chassis-protection case for laptops that travel a lot.
Local Help in Barnes SW13
Before you replace a struggling laptop, it’s worth finding out what’s actually failing — it’s often cheaper than you’d expect.
We give every machine a structured diagnostic and say plainly whether a repair or a replacement is the better spend.
Drop in to SW15, call 020 7610 0500, or use the contact form.