What Was Happening
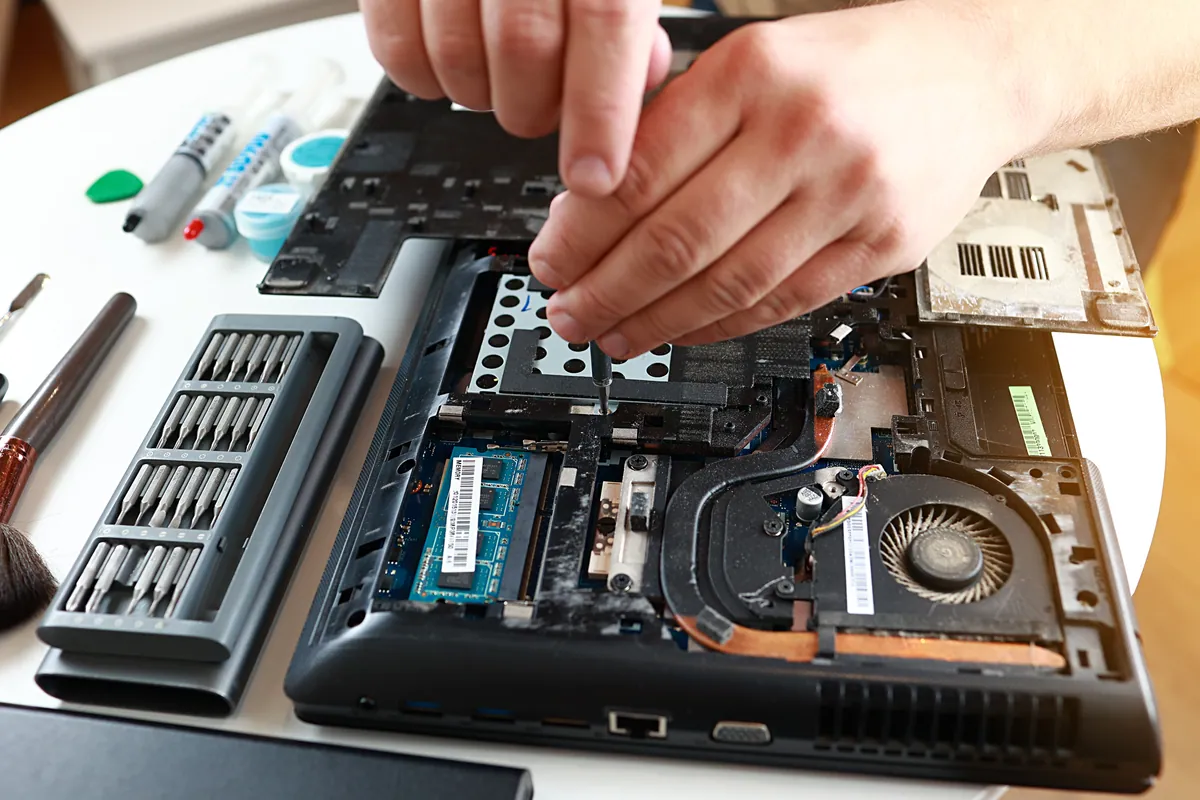
The owner had opened the laptop to clean accumulated dust from the cooling system — a reasonable thing to want to do on a machine that had been getting noisy under load. They had got the laptop apart, blown the dust out, and reassembled it. After reassembly the laptop would not power on at all. No fan, no LEDs, no display, no sign of life.
The customer’s diagnosis on the way in: “I broke it.” Often that’s true; almost as often it’s a recoverable mistake rather than a destroyed machine. Worth diagnosing before assuming the worst.
Sound like your problem?
Bring it to our Putney workshop or message us a photo and we will give you a straight answer and a quote before any work starts.
Our Diagnosis
When a laptop has been opened recently and now won’t power on, the diagnostic order is:
- Check the easy stuff first. Battery still connected? Power button accessible (sometimes the button itself gets misaligned during reassembly)? AC adapter plugged in and known good?
- Reseat the battery and AC. Hold the power button for 30 seconds with no battery and no AC connected to fully discharge any residual capacitance. Reconnect AC alone (without battery) and try to power on — bypasses any battery-related fault.
- Listen for partial activity. Any clicks, any LED flickers, any fan twitch? A completely dead machine is different from one that almost starts.
- Open the laptop and inspect. Look for visible problems before testing further.
For this HP, the visual inspection was decisive:
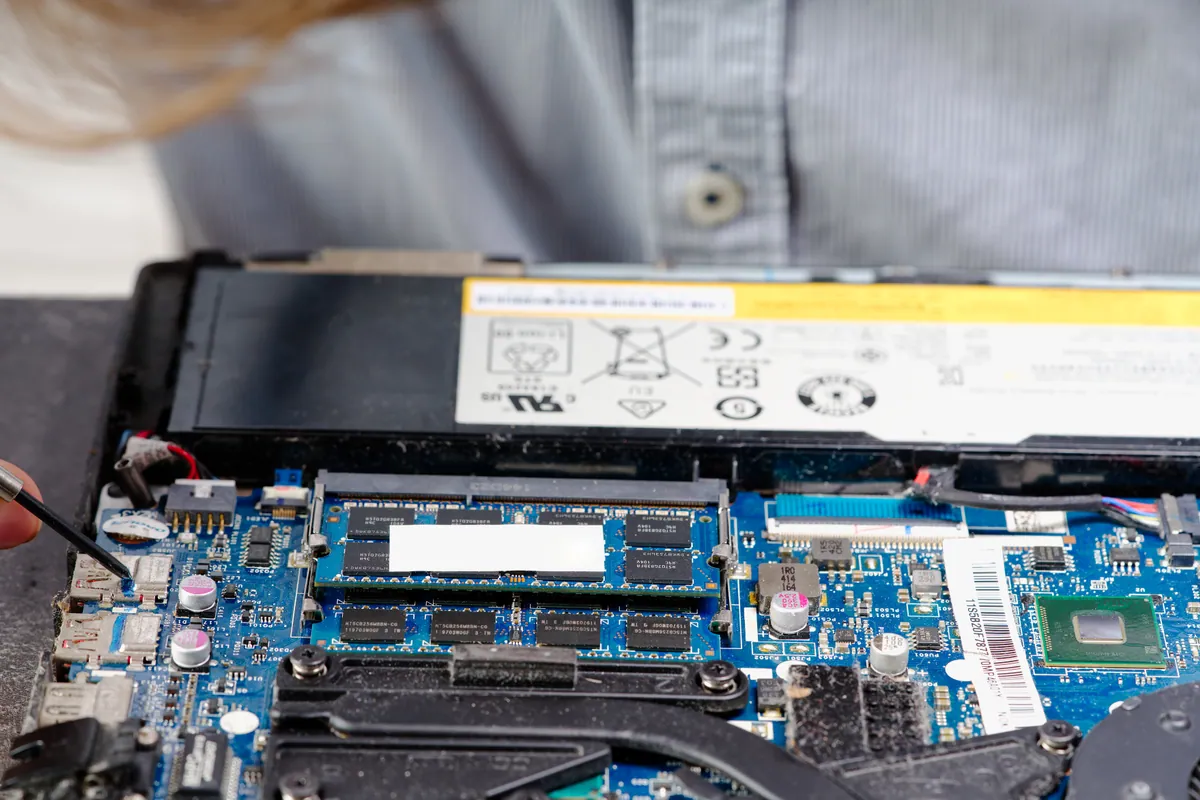
- Battery connector seated correctly.
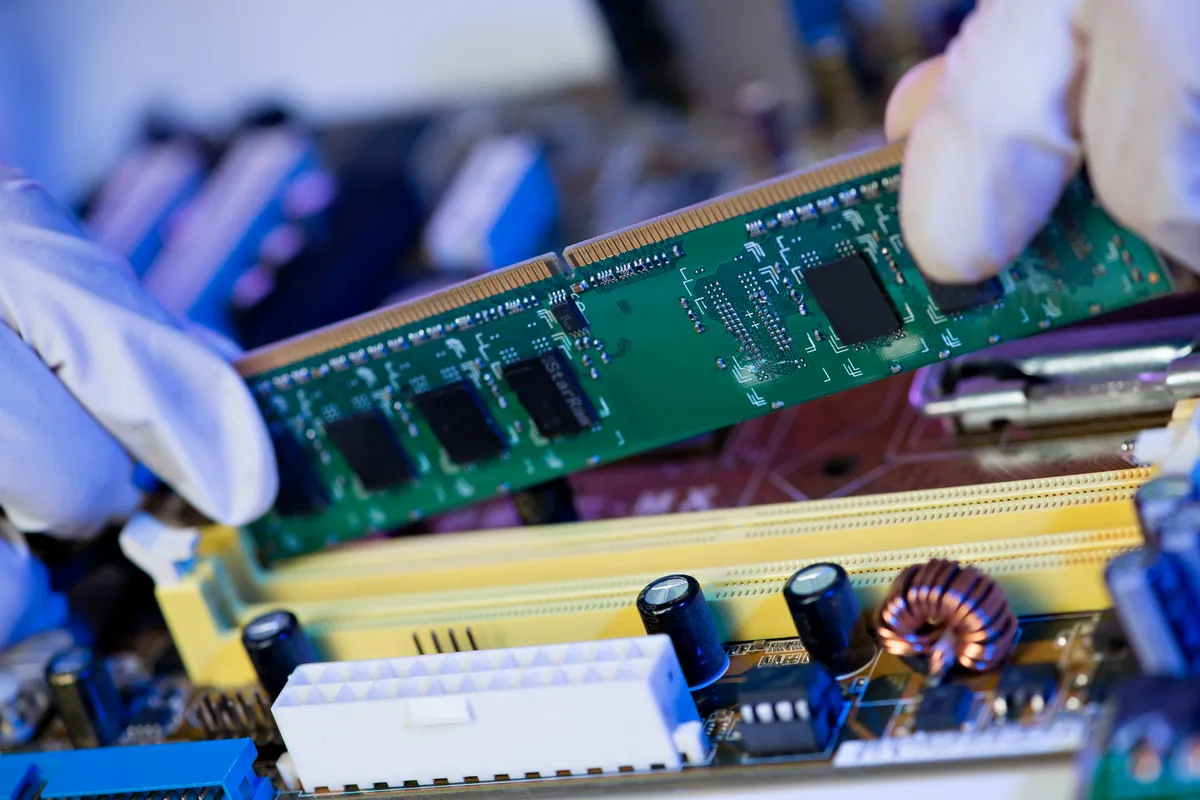
- RAM and SSD all properly inserted.
- Cooling system reassembled, with the new (or rather absent) thermal paste being step one of the actual proper service we’d do later.
- The power button flex cable: visibly inserted into its connector, but a closer look showed the cable was slightly skewed and the connector’s lock-down lever was not fully engaged. The cable was not making proper electrical contact with the connector pins.
This is the single most common DIY-cleaning failure mode. Modern laptops use small ZIF (zero insertion force) connectors with a tiny lock-down mechanism. The cable goes in easily but the lock-down has to be properly engaged for the connection to work. A cable that looks plugged in but isn’t fully seated will give exactly this symptom — completely dead laptop.
How We Fixed It
Step 1 — fixed the cable. Released the connector’s lock-down, removed the cable, gently cleaned its contact area with isopropyl alcohol on a lint-free cloth, reinserted it squarely, and re-engaged the lock-down properly. Test power: laptop powered on first attempt. Diagnosis confirmed.
Step 2 — proper internal service while the laptop was open. Since the customer had opened it for cleaning, we did the cleaning job properly:
- Removed the cooling system (heatsink and fan) completely
- Cleaned dust out of the fan blades and the heatsink fins with compressed air and a soft brush — properly, with the fan held still rather than allowing it to spin freely (compressed air can spin the fan past its safe speed and damage the bearings)
- Cleaned the old thermal paste off the CPU and GPU dies and the heatsink contact surfaces with isopropyl alcohol
- Applied fresh thermal paste of the right type and quantity (rice-grain sized for most consumer CPUs, applied at the centre and spread by the heatsink pressure)
- Reassembled the cooling system with the correct screw torque pattern (over-tightening can crack the die; under-tightening leaves a gap that loses heat transfer)
Step 3 — cable routing check. Looked at every internal cable and verified it was routed correctly — not pinched, not over a sharp edge, not bridging any components. A cable that gets pinched during reassembly can either short something or develop a fault months later.
Step 4 — verification. Boot tested. Ran a stress test for 20 minutes monitoring CPU and GPU temperatures. Idle temperatures lower than the customer reported pre-cleaning; load temperatures noticeably lower as well — confirming the thermal paste refresh had done its job.
The Result
Laptop powering on reliably. Internal temperatures lower than they had been before the customer’s cleaning attempt — proper service got more thermal benefit than dust removal alone. The cable that had caused the dead-laptop scare now seated correctly.
Why This Happens
Internal cleaning of a laptop is something many people attempt themselves and most attempts go fine. The common failure modes when it doesn’t:
- Flex cables not properly seated in their ZIF connectors after reassembly. The cable goes in easily, the lock-down has to be properly engaged, and it’s easy to think the cable is in when it isn’t quite.
- Old thermal paste not replaced. If you remove the heatsink, you must replace the thermal paste. Reattaching a heatsink to the original paste (now disturbed) gives worse cooling than not opening the laptop at all.
- Wrong screws in wrong holes. Laptops use different screw lengths in different positions. A longer screw in a position that expects a shorter one can puncture the chassis or damage internal components.
- Damaged plastic clips. Lifting panels too quickly snaps the small clips that hold them; the laptop reassembles but feels loose afterwards.
- Static damage. Modern components are usually robust but a really dry environment can build up static that damages RAM or other sensitive parts during handling.
When DIY cleaning is worth attempting and when it isn’t
Worth attempting:
- Removing the back panel and using compressed air to blow dust out of intake vents — minimal risk if you don’t go further than that
- Cleaning the keyboard and screen externally
- Replacing user-accessible components (RAM, SSD on models that allow it) following the official service guide
Worth getting professional help for:
- Removing the heatsink to access the fan properly
- Replacing thermal paste
- Any work that involves disconnecting internal flex cables
- Any work where you don’t have the model-specific service guide to hand
Local Help in Brixton SW9
A laptop that dies straight after DIY internal work has usually suffered a disturbed cable or connector rather than a failed part — a bench inspection finds it quickly and cheaply.
We work on Acer, Asus, Dell, HP, Lenovo, Samsung and the rest of the major laptop brands from our Putney bench.
Drop in to SW15, call 020 7610 0500, or use our contact form for a quick estimate before you bring the machine in.