What Was Happening
The laptop had been working normally and then one day the lid started flexing in a way it shouldn’t. Closer inspection showed one of the hinges had pulled away from its mount inside the lid — the hinge itself was fine, but the plastic of the lid that anchored it had cracked. The lid would no longer stay open at any chosen angle and was slowly tearing itself further with every open and close.
The customer was a student on a tight budget. They needed the laptop working for the rest of the academic year. Spending a substantial sum on a full lid replacement was not realistic; replacing the laptop entirely was not realistic either.
Sound like your problem?
Bring it to our Putney workshop or message us a photo and we will give you a straight answer and a quote before any work starts.
The honest conversation
We always start with what’s actually broken and what the realistic options are. For this Lenovo:
Option 1 — Full lid assembly replacement. Source the correct lid for the model, transfer the display panel and cabling across, refit. Highest cost, most durable result, factory-spec finish. Lead time on the part, plus several hours of labour.
Option 2 — Reinforced bonding repair to the broken plastic mount. Use a structural adhesive appropriate to the plastic type, reinforced with a small backing piece to spread load. Lowest cost, can be done same-day. Works well in most cases but is time-limited — the bond is stressed every time the lid opens, and the fix typically lasts 12–24 months before needing to be revisited.
Option 3 — Replace the laptop. Sometimes the right answer, but not when the laptop is otherwise healthy and budget is the binding constraint.
For a student needing the machine through to summer, option 2 was the right call. We were clear about what the customer was getting: a working laptop, now, for low cost — with the understanding that the repair was a fix, not a restoration to factory condition, and might need redoing in a year or two.
How We Fixed It
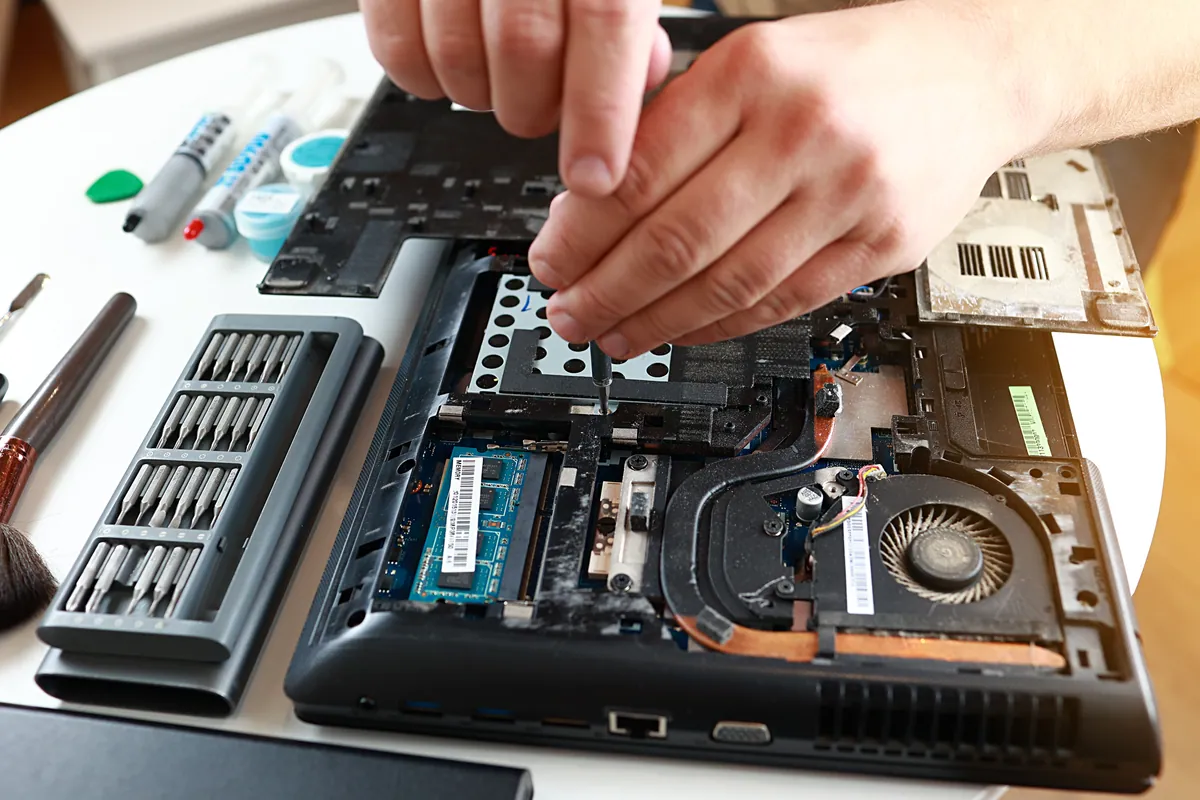
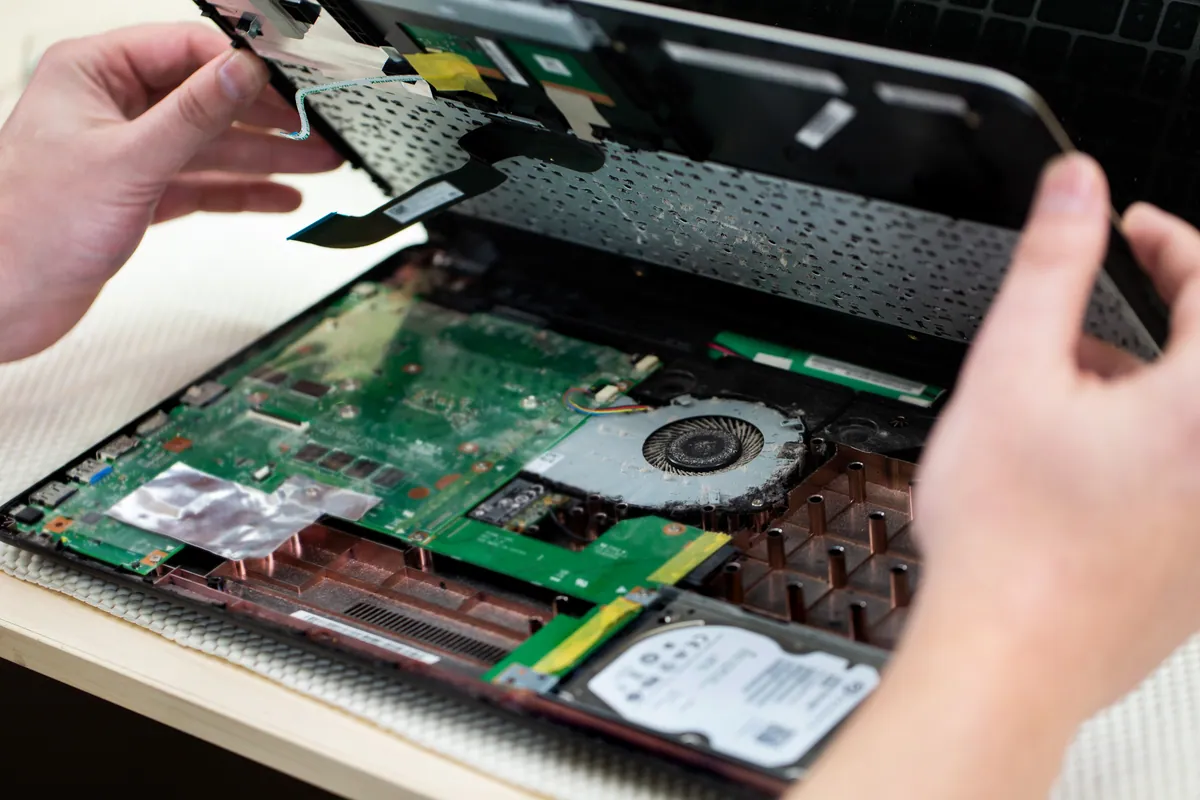
Disassembly. Opened the lid sufficiently to access the broken mount without disturbing the display panel itself.
Inspection of the break. Looked at the crack to understand exactly which part of the mount had failed. In this case the screw-receiving boss had cracked away from the surrounding plastic, with a clean fracture line.
Surface preparation. Cleaned both surfaces of the break with isopropyl alcohol to remove any oil or release agent. Lightly scored the surfaces with a fine file to give the adhesive more surface area to bond to.
Adhesive selection. Chose a structural adhesive appropriate to the laptop chassis plastic (ABS-styrene blend for most consumer laptops). Generic super-glue doesn’t work — it’s brittle and the bond fails under the cyclic stress of opening and closing the lid.
Reinforcement. Cut a small piece of compatible plastic from a backing that wouldn’t be visible after reassembly. Bonded it across the back of the break to spread the load over a larger area than the original mount alone. This is the difference between a repair that lasts months and a repair that lasts years.
Cure time. Left the bond to cure for the manufacturer’s recommended time before any load went near it. This is the step DIY repairs usually skip — rushing the cure halves the strength of the bond.
Reassembly. Refitted the hinge through the repaired mount. Tested opening and closing the lid through its full range, checked the lid stayed at chosen angles, verified the display cable still routed correctly.
Final check. Opened and closed the lid 20 times to verify the repair held under realistic use. No movement at the repaired mount, no creaking, no fresh cracks.
The Result
Laptop usable again. Lid open and close working normally, staying at chosen angles. The student briefed on:
- What we did and why it works
- That the repair is good for 12–24 months in typical use
- What to watch for as the bond ages (creaking, increasing flex)
- What to do when the repair eventually needs revisiting (we’d assess at that point whether the same fix or a full lid replacement makes more sense, depending on the laptop’s overall state)
Why This Happens
Repair workshops should match the repair to the customer’s situation, not insist on the most expensive option that’s technically possible.
For a business user who depends on the laptop for daily work, the right answer is usually a full chassis-grade repair with parts-and-labour warranty. Time off the machine is expensive; reliability matters; budget is less constrained.
For a student needing the laptop to finish the year, the right answer is often the minimum-cost repair that does the job — with honest expectations about its limitations. We’ve seen plenty of student laptops where the bonding repair has lasted well into the next academic year, by which point the student has graduated and the laptop is being replaced anyway.
The wrong response to a constrained-budget customer is to overcharge them for an unnecessary full repair or, worse, to refuse the job and tell them to replace the laptop. Both happen at less-honest workshops.
When the cheap fix is right and when it isn’t
Cheap fix is right when:
- The laptop is otherwise healthy and the broken component is structural rather than electronic.
- The customer’s timeline is short (student finishing a year, end-of-life laptop being replaced soon anyway).
- Budget genuinely is the binding constraint.
- The trade-off has been explained clearly and the customer has chosen with that information.
Cheap fix is not right when:
- The customer needs the laptop reliable for years to come.
- The fault is the visible part of a larger problem (a cracked hinge mount is structural; a logic-board fault is not bondable).
- The customer hasn’t been told about the trade-off and assumes they’re getting a factory-spec repair.
Local Help in Herne Hill SE24
Hinge and lid damage rarely needs the full chassis replacement that gets quoted first — a targeted repair usually gets a student laptop through the rest of the course.
We see customers from across South West London who’ve been quoted for a full part replacement when the actual fault is somewhere cheaper.
Bring the laptop into our Putney workshop (SW15) or call 020 7610 0500 for a quick conversation first.