What Was Happening
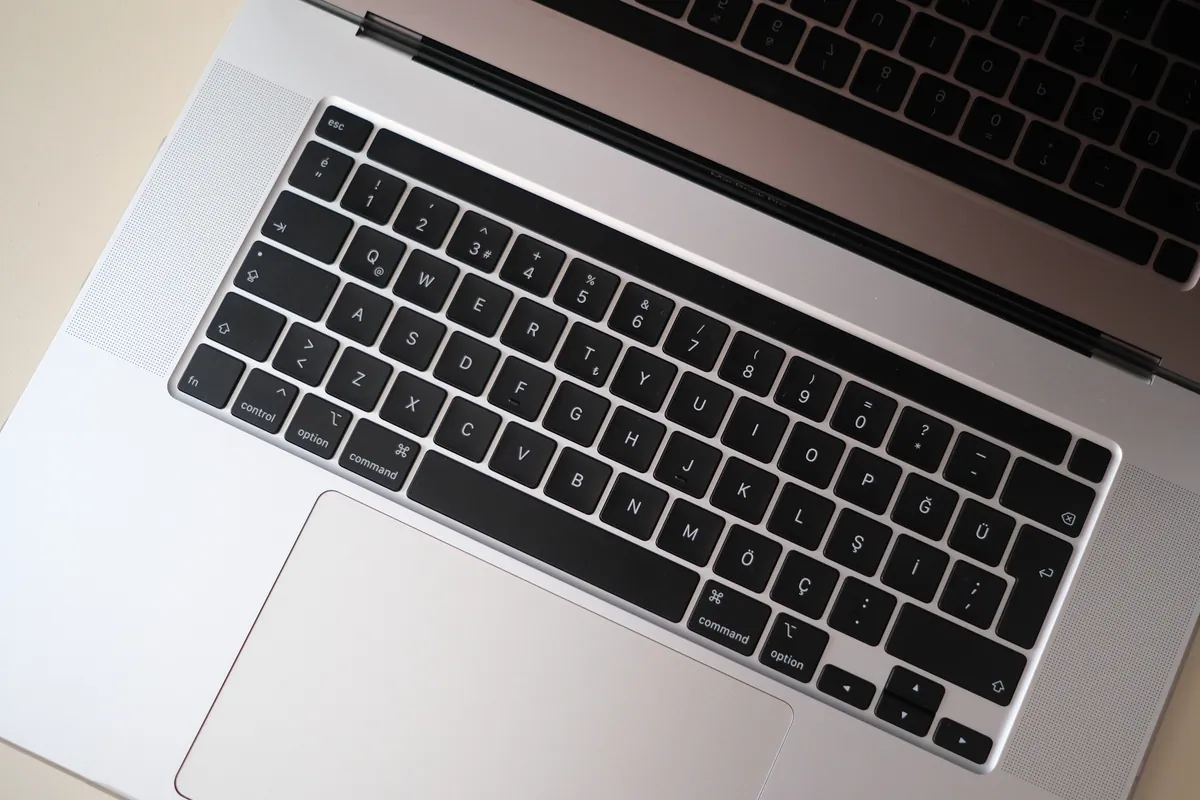
The space bar had popped off. The customer hadn’t done anything obvious to cause it — one moment it was attached, the next it was lying on the desk. The keycap itself was intact; the mechanism underneath was visible but they weren’t sure if it was damaged.
The right first question for this kind of problem: is it just the keycap, or has the underlying scissor / butterfly mechanism been damaged? Those are very different repairs. A bare keycap reseat is cheap and same-day. A damaged scissor mechanism is a top-case replacement on most modern MacBook Pros — substantial cost and a part lead time.
Sound like your problem?
Bring it to our Putney workshop or message us a photo and we will give you a straight answer and a quote before any work starts.
Our Diagnosis
The diagnostic is largely visual under magnification:
- Examined the underside of the keycap. Looked at the four corner clips that hold the keycap to the scissor mechanism. All four clips intact, with some residual adhesive but no broken plastic.
- Examined the scissor mechanism in the keyboard. The X-shaped scissor structure that gives the key its travel was sitting correctly in its mounts. No broken arms, no missing fragments. Switch dome underneath unmarked.
- Tested the switch electrically. Pressed the bare scissor mechanism (without the keycap) gently with a non-conductive tool. The space bar registered correctly on screen — meaning the underlying switch and the electrical contact were both working.
- Looked for fragments. Sometimes a “detached” keycap is actually a damaged one, with parts of the underside clips broken off and lying loose. We always check before reattaching, because a half-broken clip won’t hold and the key will detach again within days.
Conclusion: clean detachment with no underlying damage. Refit candidate, not a replacement candidate.
How We Fixed It
Cleaned the residual adhesive from both the keycap clips and the scissor mechanism mounts. The previous attachment had relied partly on factory adhesive that had degraded; a clean refit needed a clean surface.
Aligned the keycap. Modern MacBook keys have a specific orientation — there’s a front and a back, and the keycap will only seat correctly one way. The space bar in particular has two stabiliser arms that have to engage with their mounts at the same time as the four corner clips.
Refitted with the correct technique. Pressed straight down at the centre of the keycap with even pressure, listening for the four clip clicks. Verified each clip had engaged by trying to lift each corner of the keycap — a properly seated keycap won’t lift at any corner.
Tested keystroke registration. Pressed the key 50 times at varying positions across the bar (the longer keys can register at the centre but not the edges if the stabilisers aren’t seated properly). Every keystroke registered.
Tested travel and feel. Compared the feel of the space bar to the adjacent keys. Identical travel, identical feel, no looseness, no creak.
The Result
Space bar fully functional, normal travel, no missed keystrokes from any position across the bar. The customer saved the cost of a full keyboard or top-case replacement and walked out with a working laptop the same day.
When a refit works and when it doesn’t
Refit is viable when:
- The keycap is intact (all four corner clips unbroken)
- The scissor mechanism in the keyboard is intact
- The underlying switch still registers when pressed
- For larger keys (space, return, shift): the stabiliser arms aren’t bent or broken
Refit isn’t viable when:
- One or more corner clips on the keycap have snapped off
- The scissor mechanism has a broken arm (common after liquid contamination or sustained heavy use)
- The switch underneath doesn’t register reliably
- The keyboard is part of a series with the known reliability issues (Apple’s 2015–2019 “butterfly” keyboards had structural issues that often required keyboard or top-case replacement)
We diagnose before quoting. Sometimes the right call is a refit; sometimes it’s a keyboard or top-case replacement; rarely it’s something in between. We tell the customer honestly which one applies to their machine.
Why This Happens
The four most common causes we see:
- A finger caught under the edge of a key while typing. Most common on the longer keys (space, return). Lifts the keycap clear of its clips in one go.
- Cleaning with the wrong tool. Vigorous cleaning with a stiff brush can lift keys. Compressed air at the wrong angle can do it too.
- A small object caught under the lid when closed. Pressure from the lid pushing on the key from above can pop the key off its clips.
- Liquid contamination weakening the adhesive. Drinks splashed on the keyboard often soften the adhesive that secures keycaps, and the keys start lifting weeks later.
The longer keys (space, return, shift on most layouts) detach more often than the shorter keys because they have more leverage at their ends.
How to refit a keycap yourself — and when not to
Genuinely detached keycaps with no underlying damage can often be refitted at home with care:
- Examine the keycap and the mechanism. Any broken plastic? Stop and seek help.
- Note the orientation. The keycap has a top and a bottom — check carefully against the surrounding keys.
- Place the keycap over the mechanism in the correct orientation.
- Press straight down at the centre with even pressure. You should feel and hear the clips engage.
- Test the key. It should travel normally and register every keystroke.
When not to attempt this yourself:
- If any part is broken or fragments are loose
- If you don’t know which way the keycap goes (force-fitting it the wrong way damages the mechanism)
- If the key still doesn’t work after a careful refit
- On the longer keys where stabiliser engagement matters
In any of those cases, a 15-minute workshop visit costs less than the eventual top-case replacement that DIY damage can lead to.
Local Help in Putney SW15
A workshop second opinion on a MacBook quote is almost always worth the diagnostic fee.
Many MacBook faults that get quoted as full board replacements at less-rigorous workshops are component-level refurbishments at ours.
Visit our Putney workshop (SW15) or call 020 7610 0500 to discuss.