The three dials that decide print quality
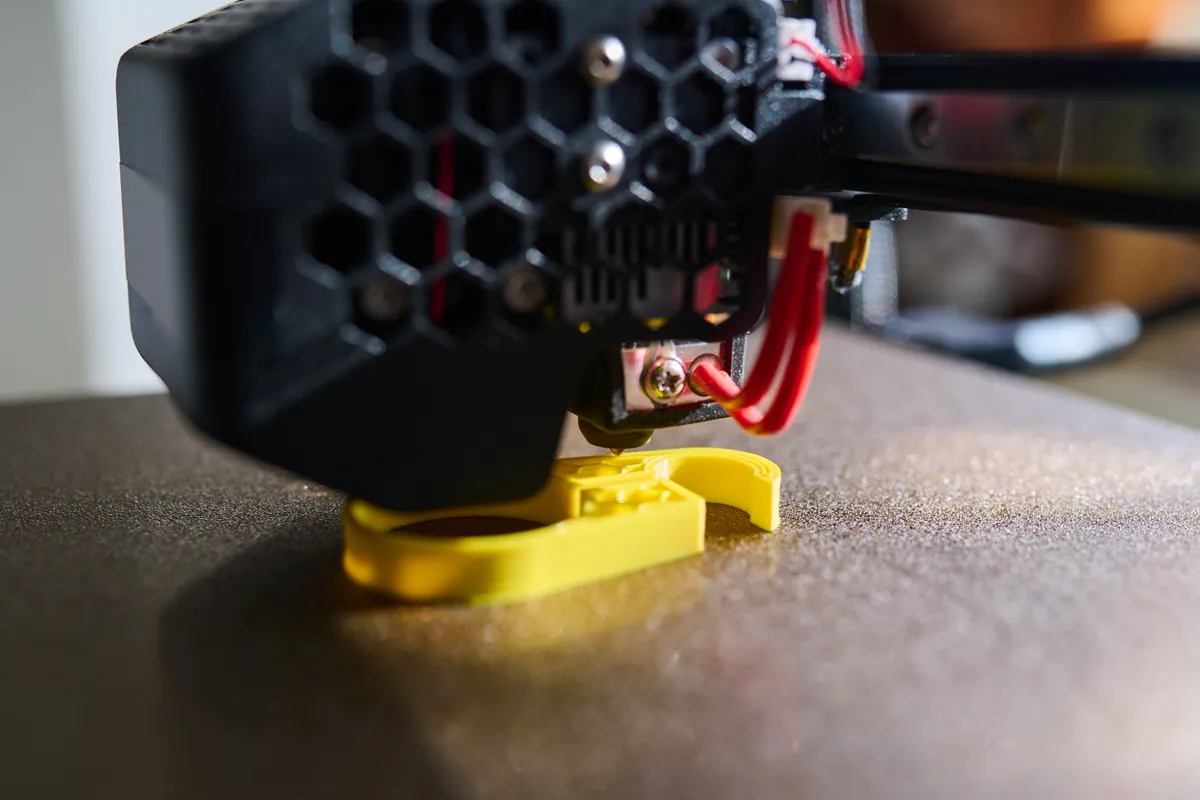
Almost every argument about “fast versus good” 3D printing comes down to three settings pulling against each other: layer height, print speed and part cooling. Change one and you usually have to rethink the other two. Once you understand what each one actually does, choosing a sensible balance stops being trial and error.
Before any of this matters, your printer needs a solid mechanical baseline. A wobbly gantry, an off first layer or an under-tensioned belt will ruin a print at any speed, which is why we always sort mechanics and calibration out before touching quality settings. Good 3D printer setup and calibration is the foundation everything else sits on.
Sound like your problem?
Bring it to our Putney workshop or message us a photo and we will give you a straight answer and a quote before any work starts.
Layer height: the biggest lever on appearance
Layer height is the thickness of each printed layer, and it has the most visible effect on how a finished part looks. Thinner layers (for example 0.12mm) stack more finely, so curved surfaces and gentle slopes look smoother and detail is sharper. Thicker layers (0.28mm or more) are coarser but each one lays down more plastic, so the print finishes far quicker.
The catch is that halving your layer height roughly doubles your print time, because the printer has to make twice as many passes to reach the same height. A miniature or a display piece justifies the wait. A bracket that lives inside a cupboard does not.
A useful rule of thumb: match layer height to nozzle diameter. With a standard 0.4mm nozzle, sensible layer heights sit between 0.1mm and 0.32mm. Going finer than 0.1mm rarely adds visible detail and mostly adds hours; going coarser than 0.32mm risks weak layer bonding.
Print speed: faster, but only up to a point
Speed is the obvious lever, and modern printers with input shaping can genuinely run quickly. But speed has knock-on effects that are easy to miss:
- Extrusion limits. The hotend can only melt so much filament per second. Push past that and you get under-extrusion, gaps and weak walls, no matter what speed the slicer claims.
- Ringing and ghosting. Fast direction changes make the frame vibrate, leaving faint echoes next to sharp edges and text. Heavier printers and well-tuned input shaping hide this; lighter machines show it badly.
- Layer adhesion. Move too fast and plastic can be laid before the previous layer is ready to bond, weakening the part.
A practical approach is to slow down only the parts that matter. Most slicers let you set outer-wall speed separately, so you can run infill and inner walls quickly while keeping the visible outer surface slow and tidy. That single setting often gives you most of the quality benefit for very little added time.
Cooling: the quiet setting that decides overhangs
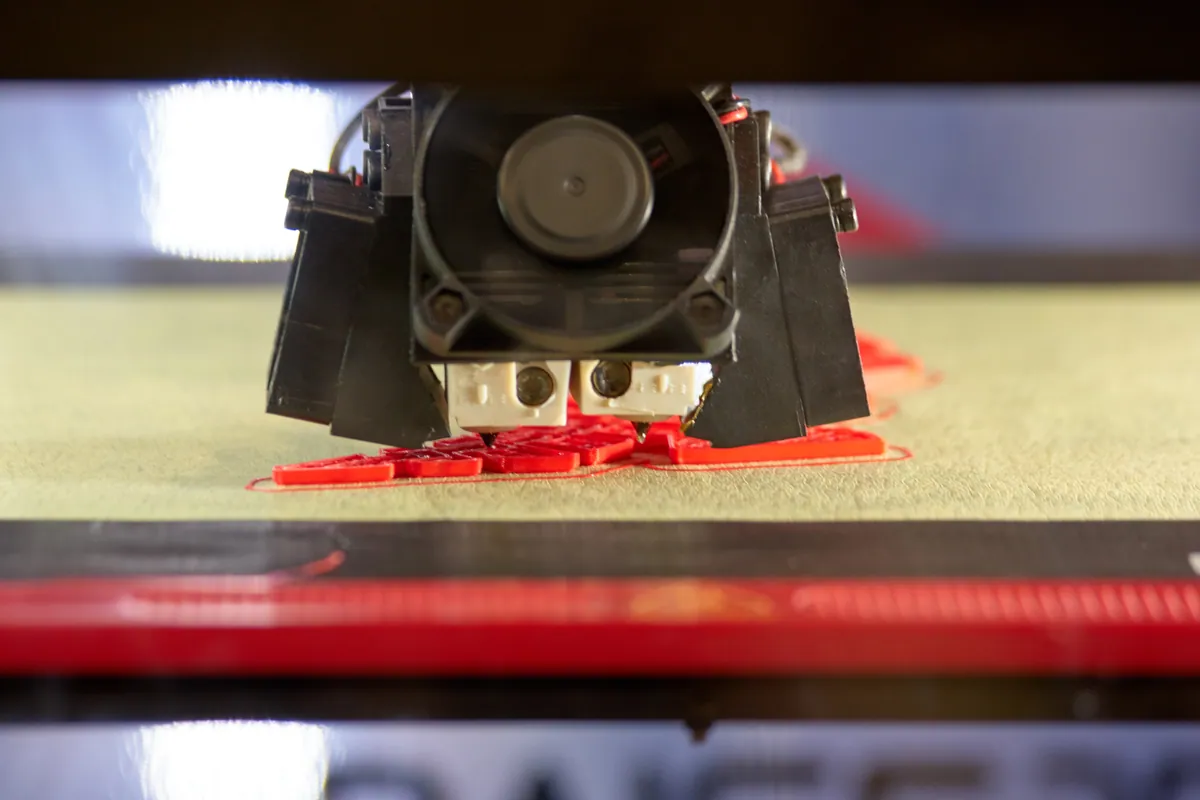
Part cooling is the fan that blows on the freshly extruded plastic. It matters more than most people realise, and it interacts directly with both speed and material.
More cooling helps overhangs, bridges and fine detail hold their shape before they can sag, which is essential at higher speeds where each layer has less time to solidify. But too much cooling weakens the bond between layers, and with some materials it causes warping or cracking. The right amount depends heavily on the filament:
- PLA loves cooling. Run the fan high for crisp detail.
- PETG wants moderate cooling. Too much and layers separate.
- ABS and ASA want very little or none, or they crack and lift off the plate.
If your overhangs droop, try more cooling and a slightly slower outer wall before you blame anything else.
When to prioritise which
There is no single “best” profile, only the right one for the job:
- Prototypes and test fits: prioritise speed. Use a thick layer height, run fast and accept the rougher finish. You are checking dimensions, not admiring the surface.
- Display models and detailed parts: prioritise quality. Drop the layer height, slow the outer walls and dial cooling in for your filament.
- Functional and load-bearing parts: prioritise strength. Moderate speed, a middling layer height for good layer bonding, and restrained cooling so layers fuse properly. A gorgeous but brittle bracket is a failed part.
If you are designing your own models, a lot of print quality is actually decided at the design stage. Wall thicknesses, overhang angles and how a part is oriented on the plate all shape the result, which is where a bit of design help pays for itself.
Dial it in with a few test prints
The reliable way to find your balance is to change one variable at a time and print a small test, rather than adjusting everything at once and hoping. A quick temperature tower, a speed test and an overhang test give you numbers you can trust for a given filament, and you can save the winning combination as a profile to reuse.
If prints keep failing regardless of settings — persistent under-extrusion, layer shifts, knocking noises or clogs — the problem is usually mechanical rather than a slicer setting, and no amount of tuning will fix it. That is when a proper 3D printer repair and health check makes sense.
A common thing we see in the workshop is a printer that was chasing quality settings when the real fault was a worn nozzle or a loose belt all along. Sort the hardware first, then tune.
If you would rather have your printer profiled and running reliably without the trial and error, call us on 020 7610 0500, drop into the Putney workshop, or send the details through our contact form. We are happy to get your machine dialled in so you can print with confidence.