Why the First Layer Is Worth Getting Right
Almost every reliable print starts with a good first layer. Get it right and adhesion, dimensional accuracy and surface quality all fall into place. Get it wrong and you chase failures for hours — corners lifting, gaps between lines, or a base so squashed it flares into “elephant’s foot”.
Most owners treat calibration as a one-off. In practice it’s a short routine you repeat whenever something changes: a new build plate, a fresh nozzle, a different filament, or after moving the machine. The good news is that a proper first layer is a method, not a knack. Follow the order below and you can dial it in on almost any FDM printer — Bambu, Creality, Prusa, Anycubic or Elegoo.
Sound like your problem?
Bring it to our Putney workshop or message us a photo and we will give you a straight answer and a quote before any work starts.
Step 1: Level the Bed First
Levelling comes before everything else, because Z-offset and adhesion mean nothing on a bed that isn’t flat relative to the nozzle.
On manual printers, home the machine, disable the steppers, and use a sheet of 80gsm paper at each corner. Adjust the wheel until you feel a light, consistent drag as you slide the paper. Do two full passes — tightening one corner shifts the others.
On auto-levelling printers (BLTouch, CR Touch, or Bambu’s built-in probe), run the mesh routine so the machine maps the bed shape. Remember that auto-levelling maps the surface but does not set the gap between nozzle and bed. That’s the next step, and it’s where most people go wrong.
Before you probe anything, make sure the bed is at printing temperature. Aluminium expands as it heats, so a mesh taken cold won’t match reality.
Step 2: Set the Z-Offset by Eye
The Z-offset is the single most important number for a good first layer. Set it live, while watching the plastic go down.
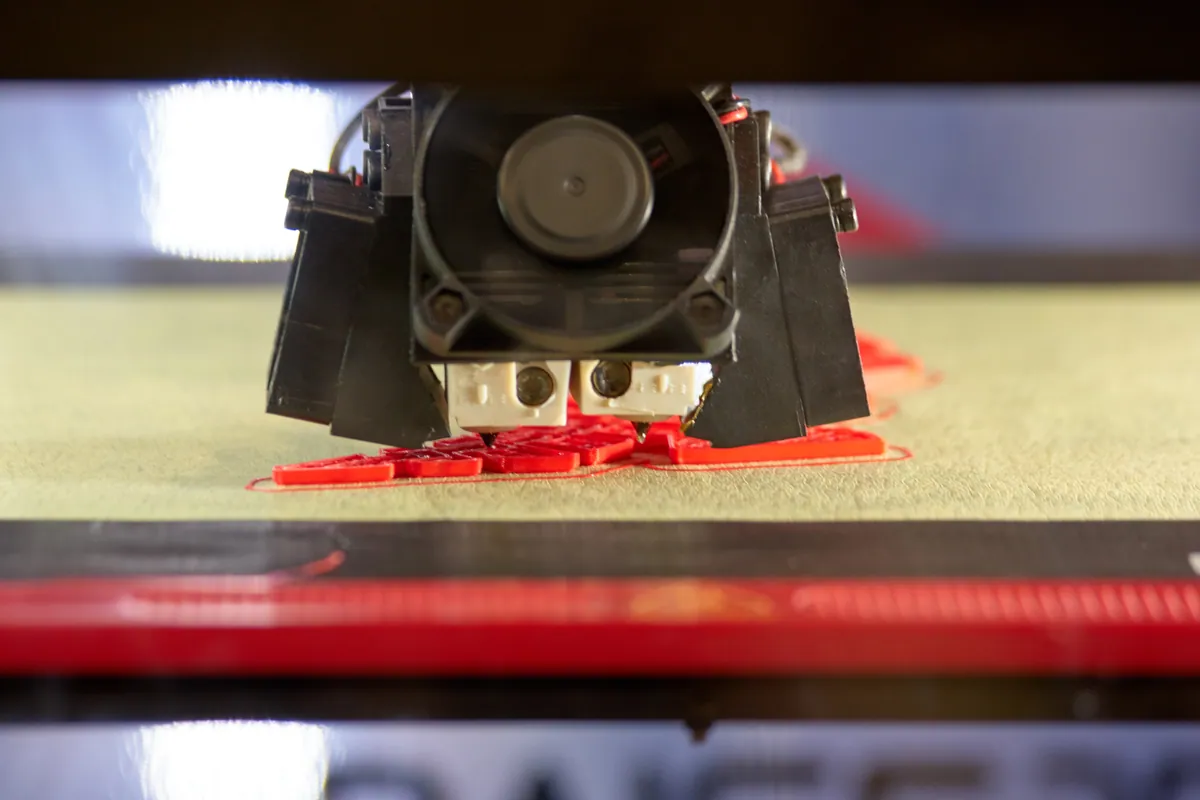
Start a single-layer test — a first-layer patch, or a wide thin square that covers most of the plate. As it prints, use the live Z-adjust and nudge in 0.02mm steps:
- Lines rounded, not touching, with gaps between them — the nozzle is too high. Lower the offset.
- Lines glassy, translucent, or the nozzle drags and skips — the nozzle is too low. Raise the offset.
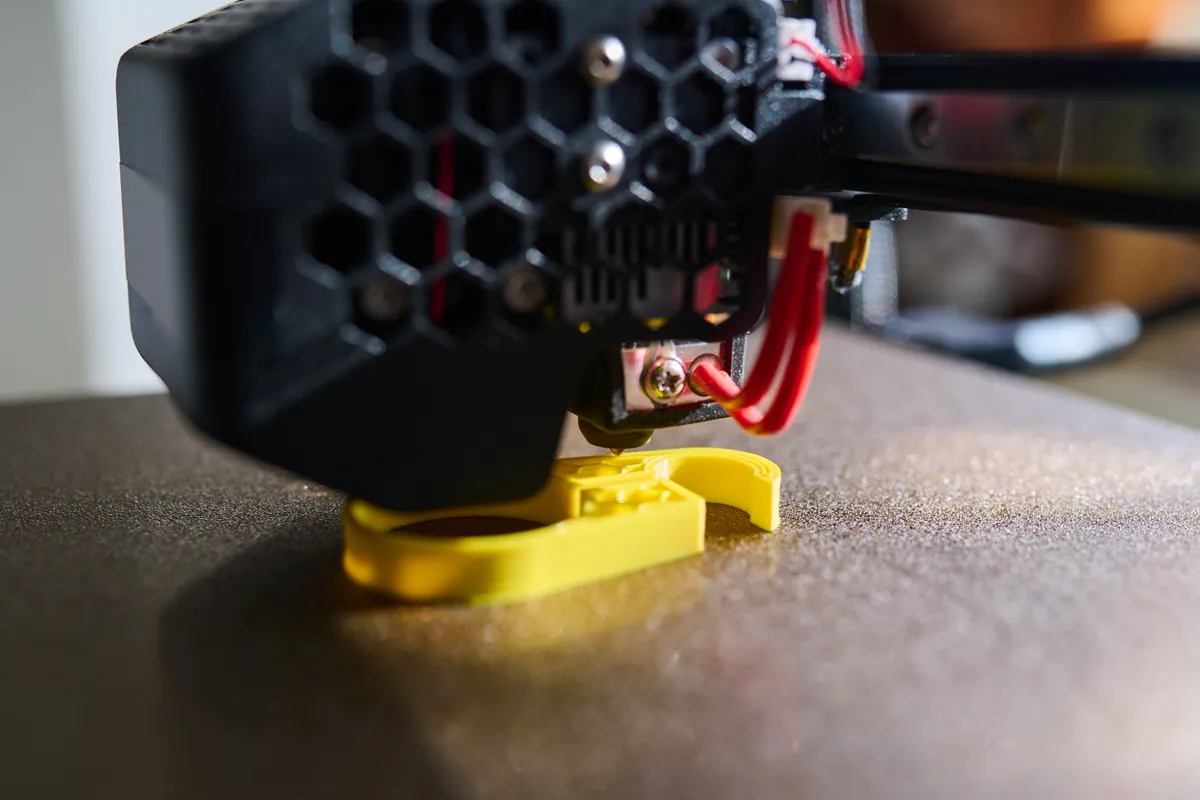
- Lines slightly flattened and fused into a smooth, even sheet — that’s your target.
Change one small step at a time and give the printer a few seconds to lay down fresh material before you judge. Big jumps make the result impossible to read.
Step 3: Get the Temperatures Right
Temperature affects how well that first layer bonds. As a starting point for the initial layer:
- PLA — nozzle 210–215°C, bed 60–65°C
- PETG — nozzle 235–240°C, bed 80–85°C
- ABS/ASA — nozzle 245–250°C, bed 100–110°C
Running the bed 5–10°C warmer for the first layer than for the rest of the print noticeably improves grip without causing stringing higher up. Most slicers have a separate “initial layer” temperature field for exactly this.
It’s also worth slowing the first-layer speed to 20–25mm/s. A slower first layer gives the plastic time to melt onto the surface and form a proper mechanical bond, which matters far more on layer one than anywhere else.
Step 4: Sort Out Adhesion
If levelling, Z-offset and temperature are right, adhesion usually looks after itself — but two habits make it reliable.
First, clean the plate before every print. Wipe a PEI or textured sheet with 90%+ isopropyl alcohol on a lint-free cloth. Invisible finger oils are one of the most common causes of “random” first-layer failures. Once a week, wash a PEI sheet with warm water and a little washing-up liquid, then dry it fully.
Second, only reach for adhesion aids as a last resort. If corners still lift on a tall, narrow model, add a 5mm brim in your slicer rather than defaulting to glue stick or hairspray. If you find you need glue on a clean PEI sheet, that’s a sign your offset or temperature is still off — fix the cause, not the symptom.
How to Read Your First Layer
Once you’ve calibrated, learn to read the result so you can spot drift early:
- Too high — visible gaps, weak layer, prints peel or shift.
- Too low — see-through lines, ridges you can feel, elephant’s foot at the base.
- Just right — a smooth, matte, even sheet with lines fused together and no gaps.
Keep a photo of a good first layer next to the printer. When quality drifts, compare against it and you’ll usually know within seconds whether to adjust the offset or clean the plate.
When to Get It Checked Professionally
If you’ve worked through all four steps and the first layer is still inconsistent across the plate, the cause is often mechanical rather than a setting — a slightly warped bed the probe can’t fully compensate for, a worn nozzle deforming the extrusion, loose gantry wheels, or a thermistor misreading temperature. These faults mimic calibration problems and can waste hours of tuning.
This is a common pattern we see in the workshop: a printer that behaves for one print and fails the next, because the true baseline was never stable. Our 3D printer setup and 3D printer repair services cover mechanical checks, calibration and a test print so the machine leaves working reliably. If you need parts modelled or reprinted, our 3D printing and design service can help there too.
If you’re in South West London or want a hand remotely, call us on 020 7610 0500, drop into the Putney workshop, or use our contact form. We’re happy to talk through what your first layer is telling you before you spend another evening on it.